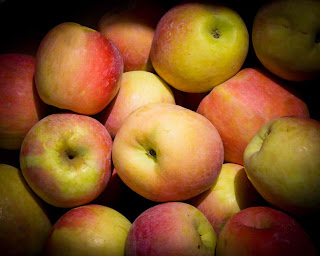
My summer days have been filled with sun, lakes, gardening, volleyball and 100 degree days. But, it won’t be long and my thoughts will turn to crisp leaves, cool weather and apples. Fall is my favorite season in Minnesota. Mother nature paints the trees with vibrant colors and the trees at the local orchards are brimming with crunchy, crisp apples. In our preschool program, one of the first themes of the year is apples. The preschool rooms smell like cinnamon and applesauce, students are voting for their favorite apples, and apple art projects decorate the doors and halls.
One of our favorite books to read during our apple theme is Ten Apples Up on Top, by Dr. Seuss. My goal for this iPad activity was to create a class counting book based on this book, so I turned to the app, Strip Designer.Strip Designer is a comic book creating app that is very useful for digital storytelling, social stories and the creation of other visuals. One of the handy features of this app is the ability to create your own stickers.
One of our favorite books to read during our apple theme is Ten Apples Up on Top, by Dr. Seuss. My goal for this iPad activity was to create a class counting book based on this book, so I turned to the app, Strip Designer.
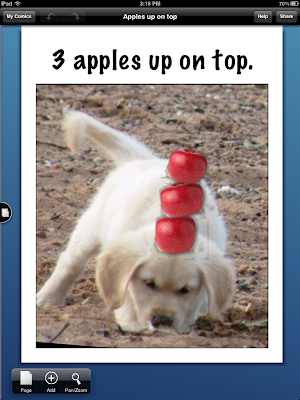
Here are screenshots of some sample pages. If you don't want to use real photos, you could use drawings instead. For the second example, the child created the drawing on Doodle Buddy, saved it to the Photo Album and then I added it to a page.
Create the comic book
Step 1: Open the Strip Designer app, choose Create New. Choose a page from the templates.
Step 2: Add Photos and Text: Tap Add Photo, choose Photo Album. Choose a photo of a child. Tap on
Step 3: Add pages: Tap Page (bottom left), then + on the bottom of the left hand sidebar. This will add a page. Repeat Step 2 with each child.
Create the apple sticker
Step 1: Tap Add and a new menu will appear. Tap Sticker, then Your Stickers. Tap the +, then choose Photo Album and tap the apple image.
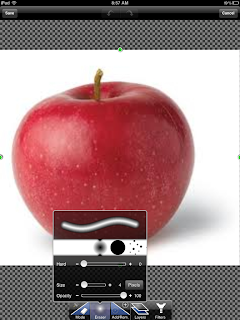
Step 2: Choose the eraser tool and erase the white background around the apple. You will see a blurred image as you erase. You can resize the eraser tool to make it easier to get close to the edges of the apple. Select Save when the sticker is ready.

Add
Select the newly added sticker from Your Stickers. Add the corresponding number of stickers to each page and resize the apple so they will all fit on the student's head. Have the child drag the apples to the top of his or her head, counting them as they are added. Repeat this process for each child.
Share your final product:
Select Share (top right), preview the pages by tapping the arrow. To do more editing, tap Back. If the book is ready, select Share. There will be several options for sharing. You can open as a PDF iniBooks , email the PDF or send it to iTunes.
Share your final product:
Select Share (top right), preview the pages by tapping the arrow. To do more editing, tap Back. If the book is ready, select Share. There will be several options for sharing. You can open as a PDF in
Additional apple activities: The blog,
This app is easy to navigate. I was able to create the pages quickly. I used the app to create more traditional looking comics with some family vacation photos. It was a unique way to document our summer road trip. My next use of this app will be to create a class book for Caps for Sale, using some hat stickers. Any other ideas?


